
Figure 2-9. Checking the Calibrated Scale Reading
Step 5. If the indicating fiber can be seen, charge the dosimeter in the normal way. If the
indicating fiber cannot be seen, proceed as follows:
(a) Rotate the charging knob clockwise five full revolutions. Then observe whether the
indicating fiber can be seen. If the indicating fiber is visible, charge the dosimeter in the normal way.
(b) If the indicating fiber still cannot be seen, rotate the charging knob counterclockwise five
full revolutions. Then observe whether the indicating fiber has appeared. If the indicating fiber is visible,
charge the dosimeter in the normal way.
(c) If the indicating fiber still cannot be seen, rotate the charging knob counterclockwise an
additional five revolutions, and again observe whether the indicating fiber has appeared. If the indicating
fiber is visible, charge the dosimeter in the normal way. If the indicating fiber still cannot be seen, the
dosimeter or the charger is faulty.
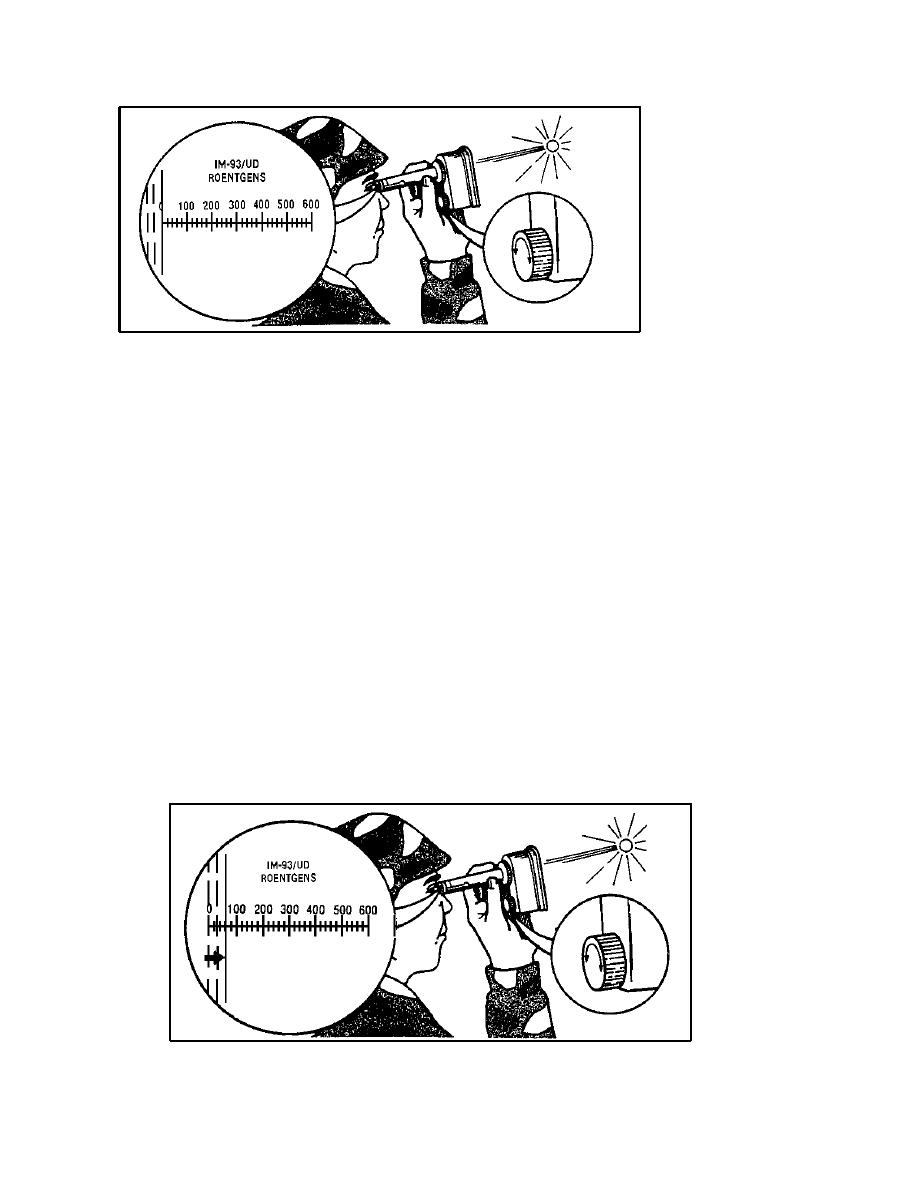
d. Leakage inspection procedures. Install the dosimeter on the charger and watch the indicating
fiber closely. The permissible leakage discharge rate is too slow to be seen on the dosimeter's calibrated
scale. If the indicating fiber can be seen to move upscale away from zero, either the dosimeter or the
charger is dirty or faulty (Figure 2-10). Proceed as follows:
Figure 2-10. Checking the Calibrated Scale Reading
Step 1. Loosen the chuck and remove the dosimeter from the charging socket. Observe the
reading on the dosimeter's calibrated scale.
CM2306
2-8

 Previous Page
