
NOTE: All pipe sections, except the three pipe sections that form the horizontal supports, have quick-
disconnect coupling halves. To connect the halves, move the two locking levers (on the half
which has them) all the way forward. Insert the half which has no locking levers into the other
half as far as it will go, then move both locking levers all the way to the rear. This will lock
the coupling securely together.
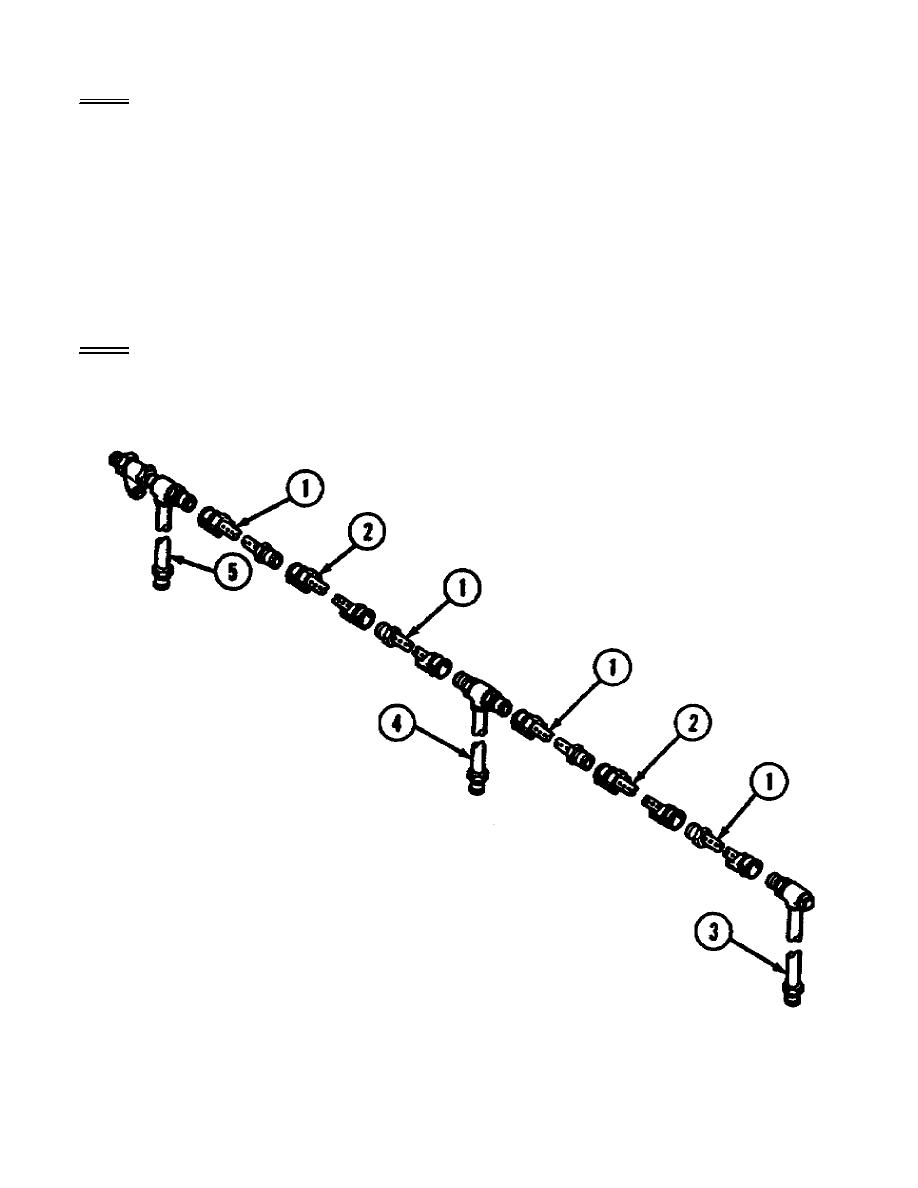
Step 2. Identify the six top sections (each section has four 5/32-inch diameter holes drilled into the pipe)
and lay them in a line, as illustrated in Figure 39. Before making any pipe connections, inspect the
assembly to ensure that all parts are present and serviceable. Always check the coupling gaskets for
cuts, breaks, or excessive wear. If any gaskets are missing or damaged, replace them as necessary.
After you have inspected all sections, connect the couplings.
NOTE: Four of the top sections have opposite coupling halves while two have like halves. The former
sections are labeled item 1 in Figure 39, and the latter sections are labeled item 2. These
sections must be arranged in the order shown in Figure 39.
Figure 39. Arrangement of the six top shower sections.
89

 Previous Page
