
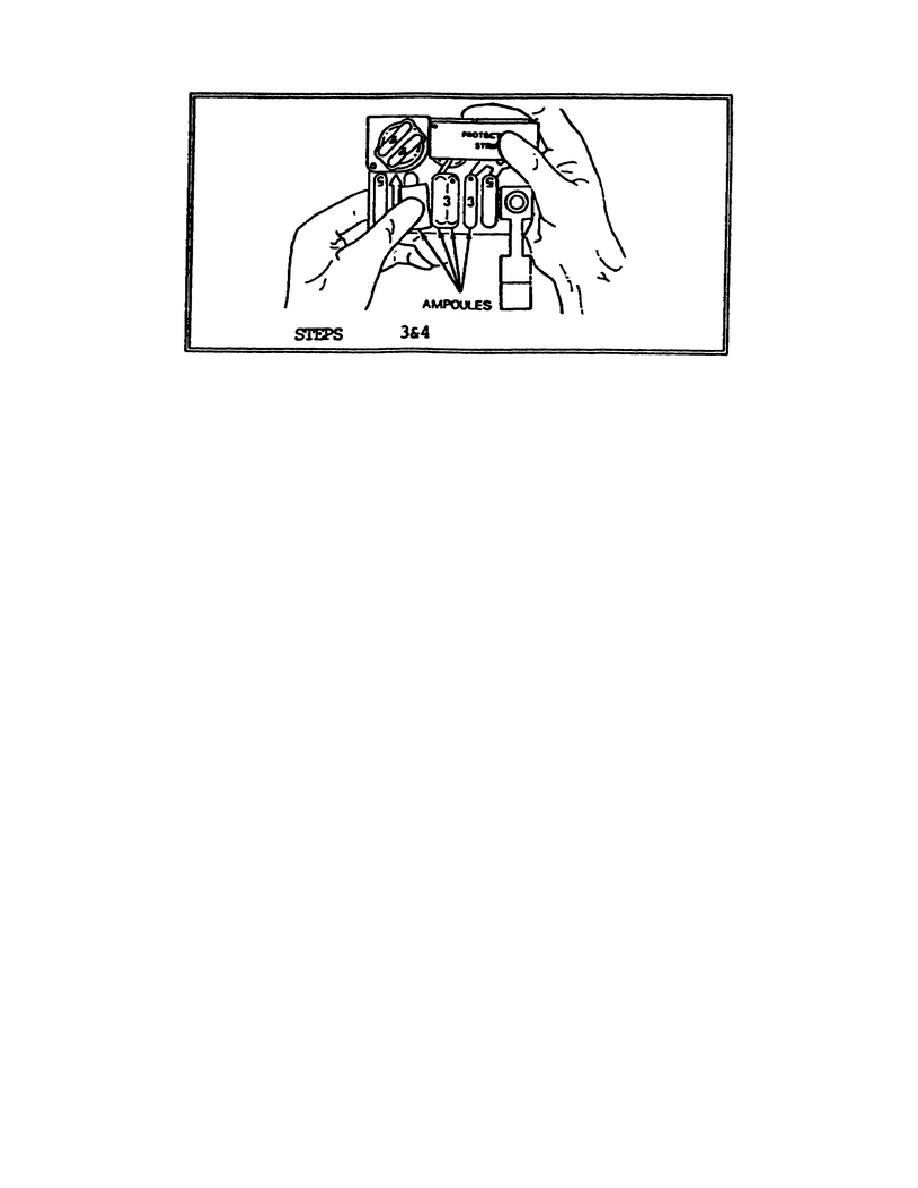
Figure 1-7.
Crush No.
3 Ampoules
e.
Step 5.
Rotate the sampler until the test spots are in a down
position (Figure 1-8). Force the liquid from the four
ampoules through the formed channels to the test spots
to ensure wetting.
f.
Step 6.
Check to verify that the hinged protective strip is over
the test spot, with test spot or arrow pointing down.
g.
Step 7.
Put your thumb over the center test spot and swing the
hinged heater assembly away from the test spot (Figure
1-8).
WARNING
The heater produces hot vapors and is hot to the touch. Keep away from
bare skin and clothing after ampoules are broken. As a minimum,
protective mask and gloves should be worn when using the N256-Series
Kit.
h.
Step 8.
Finger-crush one of the two green ampoules marked No.
4
(Figure 1-9). Immediately swing the hinged heater
assembly over the test spot (Figure 1-9). Vent vapor
away from operator's body. Leave the hinged heater
assembly in place for two minutes.
CM 1301
1-10
CM 1301

 Previous Page
