
CAUTION
Hot water is present in the heater and will drain when the blender hose is
disconnected.
When the proper connections are made and the proper valve positions are set, you are ready to add
detergent to the prime-detergent tank. For 447 gallons of water, pour 1 pint of liquid detergent into the
prime-detergent tank. Using the collapsible bucket or other container, remove enough water from the
tank unit to finish filling the prime-detergent tank.
Next, open valve 1 to allow water to flow to the upper manifold. Open both valves 2 and 3 if both gun
assemblies are to be used. Open valve 2 if the lower hose and gun assembly will be used; open valve 3,
if the upper hose and gun assembly will be used.
You are now ready to prime and start the pump unit. You learned these procedures in previous lessons.
METER DETERGENT WITH WATER
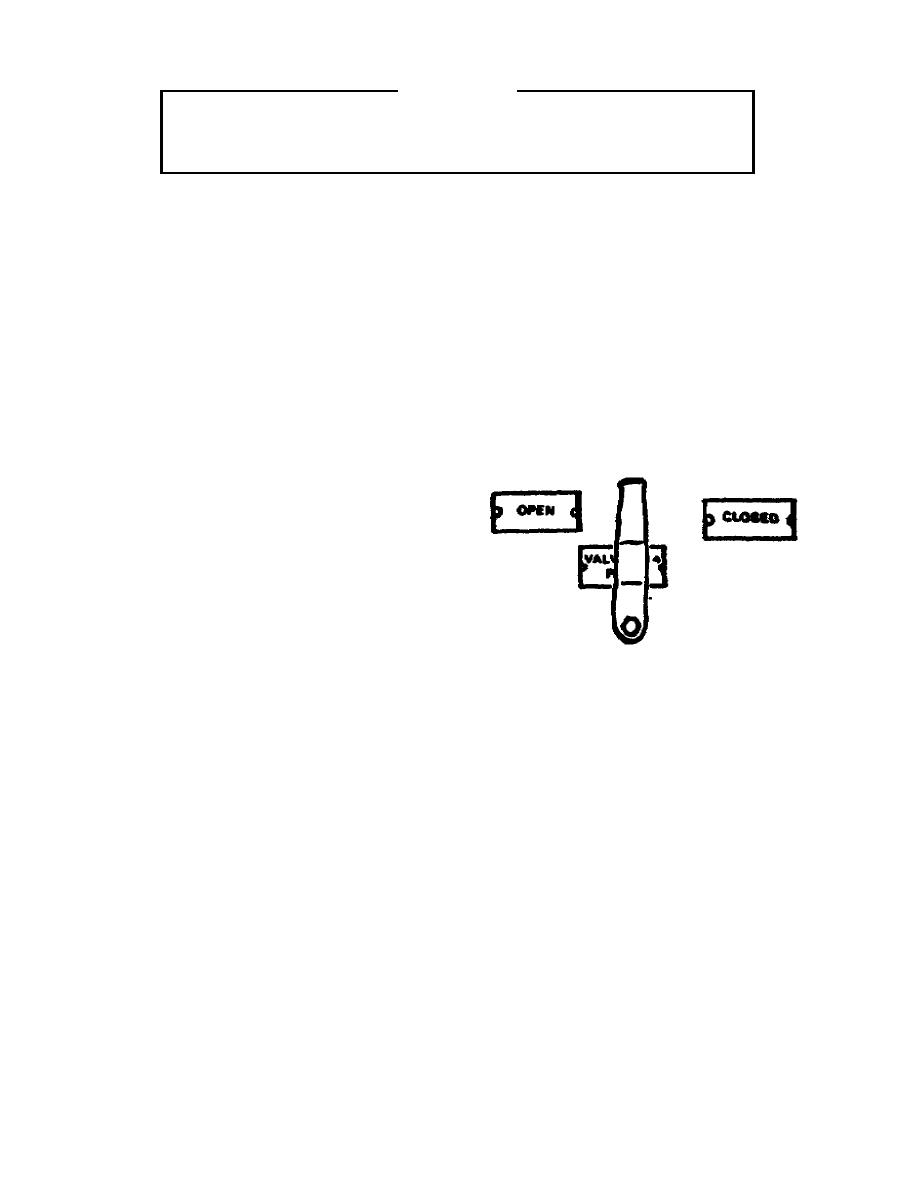
To meter detergent, open valve 4 slightly to add
the detergent mixture to the water. Then open
valve 4 halfway between the open and closed
position (Figure 36).
A full prime-detergent tank will meter detergent
with 447 gallons of water. If the detergent is
metered too quickly, it will cause the prime-
detergent tank to drain completely before all the
Figure 36. Valve 4 control.
water from the tank unit is used. If the prime-
detergent tank runs out of water, all the pressure in the pump is lost because air is drawn into the pump
unit. If this happens the pump must be primed again by refilling the prime-detergent tank.
A gun assembly is attached to each discharge hose. The gun assembly should be stored with a slurry
nozzle attached. If not, attach the slurry nozzles to the hose(s) to be used. Unreel the hose by pulling it
from the hose reel. Hold the gun assembly with the adapter in the right hand and the extension pipe
(approximately at the ball valve handle) in the left hand.
Open the ball valve by turning the handle counterclockwise. As you move the handle, soapy water will
begin to discharge under pressure. Watch the solution being discharged. If the mixture does not have
enough soap, move valve 4 toward the OPEN (Figure 36) position to add more soap to the water. If the
mixture is too soapy, move valve 4 toward the CLOSED position (Figure 36) to reduce the amount of
soap being added to the water.
82

 Previous Page
