Lesson 3/Learning Event 1
Step 14. Hold the sampler vertically with the test spots down.
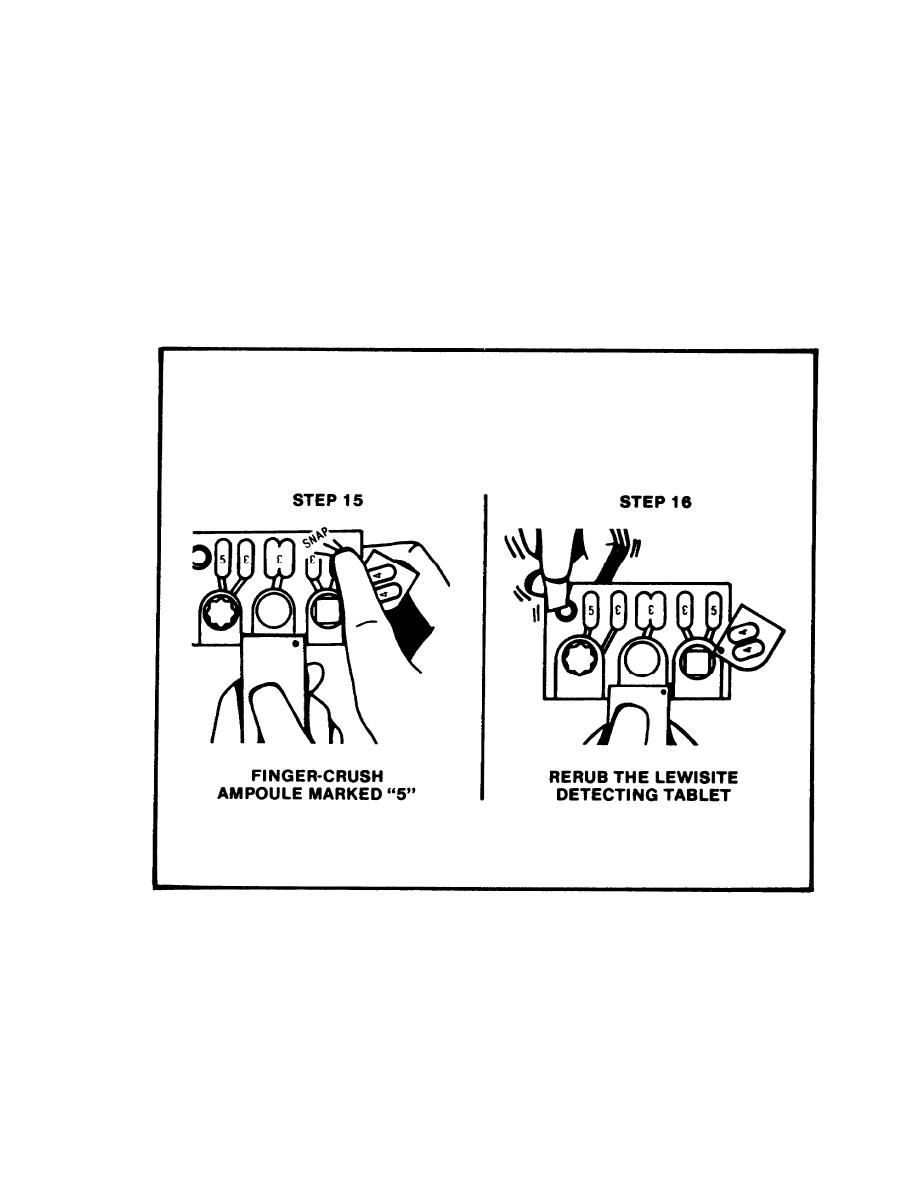
Step 15. Finger-crush the remaining ampoules marked 5 (figure 19). Force the liquid from the two
ampoules through the formed channels to the test spots to insure wetting.
Step 16. Rerub the lewisite detecting tablet with the lewisite tablet rubbing tab (figure 19). Make
sure that the second mark is next to the first rub mark. Immediately observe spots for a color
difference between the two marks.
FIGURE 19. PERFORM STEPS USING NO. 5
AMPOULE, THEN RERUB LEWISITE
TABLET.
Step 17. Immediately turn the sampler over to determine safe or dangerous conditions (figure 20 on
page 48). Color comparisons can also be made by the operator using those shown on the operating
instruction cards. Wait two minutes for nerve agent indications. NOTE: Disregard the blue area
under the nerve spot rim.
47


 Previous Page
